How To Magnetize Your Pans
When I first began magnetizing my colors years ago, it was because I wanted total customization and total control of my watercolor palette (it is also why I began making paint).
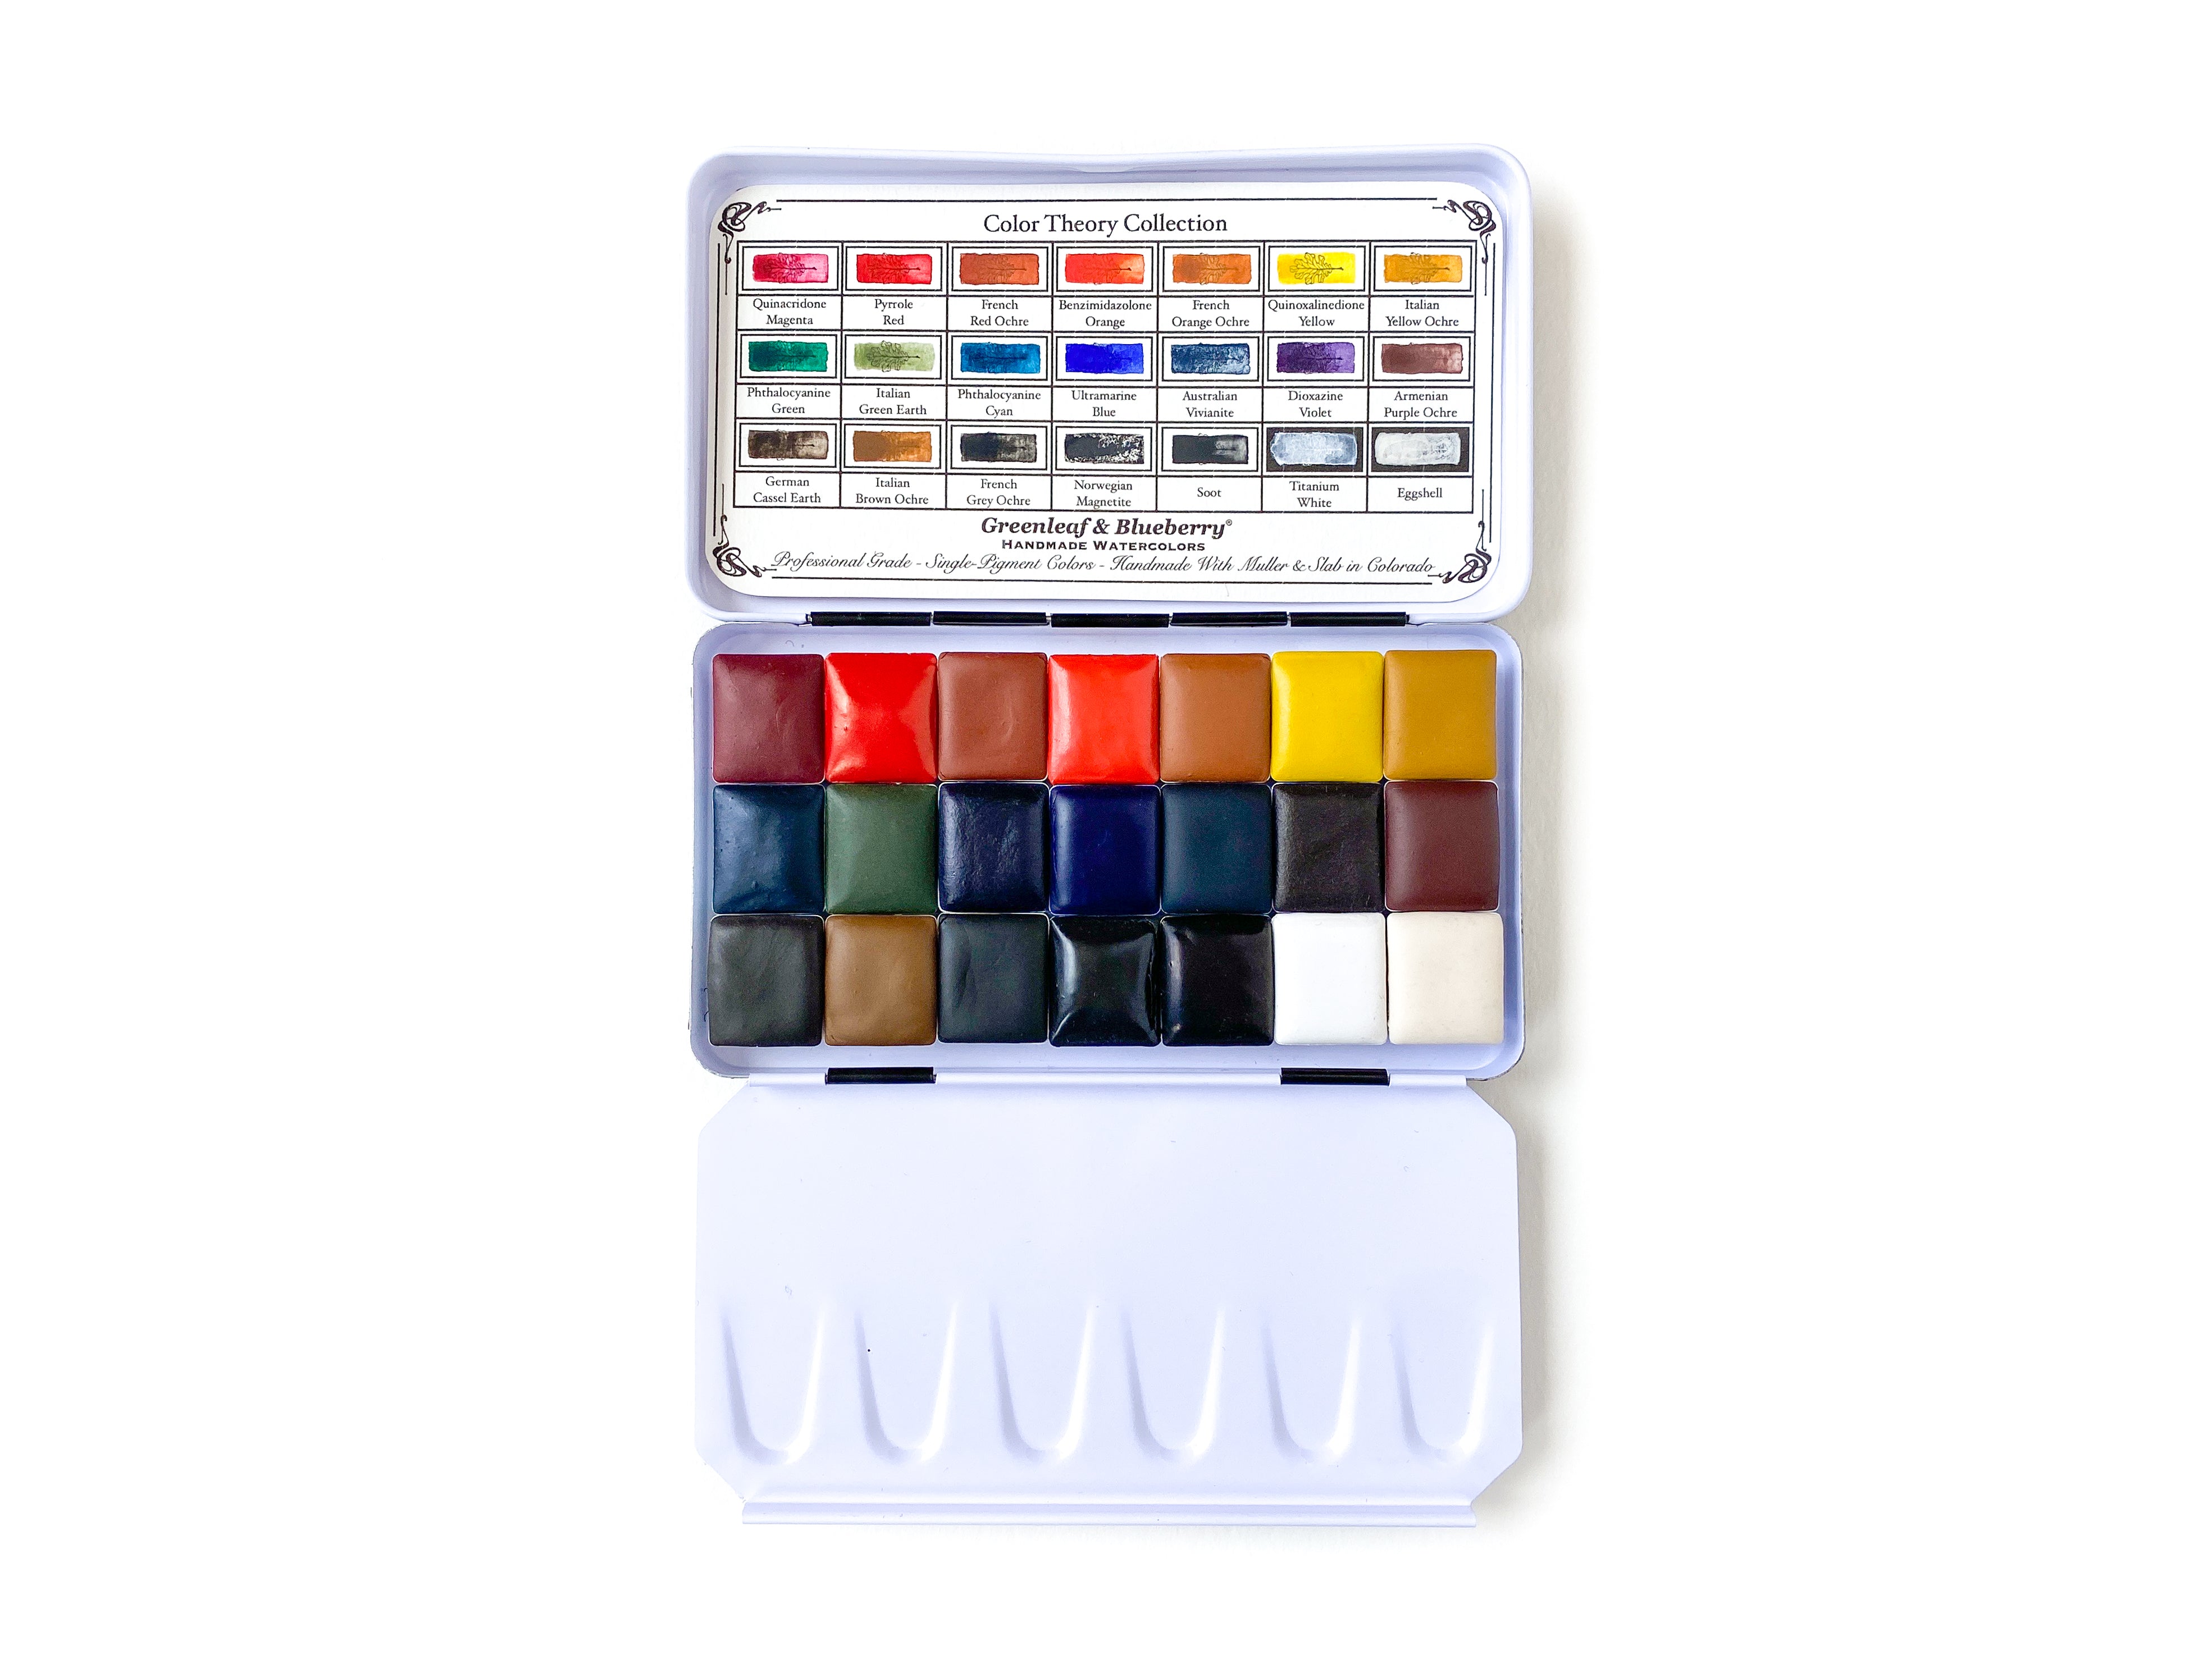
Magnetized pans not only hold your colors in place while you travel (if the magnets are strong), but also allow you to quickly rearrange your color layout. Additionally, they allow you to use a very wide variety of different tins - even the beautiful vintage tins from antique shops.
Adding magnets to your tins is straightforward, however, I thought I would share a few pro tips that we have accumulated years of magnetizing thousands of pans.

A beautiful old antique tin that I turned into a watercolor palette by using magnetized pans. (Sometimes, if I have a few extra antique or vintage tins I will create single edition travel watercolor palettes customized to each tin.)
How To Magnetize Your Pans

Some of the basic supplies I suggest for magnetizing your pans. We offer this as a Magnetization Kit, as well as different quantities of magnets by themselves. Kit includes: tin, 5 Q-tips, 2 finger cots (like fingers to a glove, to minimize contact with glue), 24 magnets in a mini-tin, mini-size E6000, and magnetizting wand.
1. Select the pans you want to magnetize and assemble your supplies.
Suggested Supplies:
- Pans to be magnetized
- Glue
- Magnets
- Magnetizing wand
- Q-tips/paper towel
- Newspapers to cover your work surface (glue has a way of getting everywhere sometimes)
- Mask (if working with a glue that produces toxic fumes)
2. Select a work space that allows ample ventilation, and wear a mask if working with glue that has toxic fumes.
We have found that E6000 glue works very well with the magnets we use. However, E6000 sports a robust warning label and smells awful when wet, so at our studios we ask staff to wear a respirator when working with or near E6000 and we have workstations with ventilation systems.
If you choose to use E6000 or an adhesive that produces toxic fumes, please take responsible safety precautions! If you would like to avoid glues all together, scroll down for an alternative.
3. Lay out magnets, a few at a time

Lay out magnets so that you can easily pick them up while the glue is wet. This way you don't have to hurry to separate them from the stack.
I lay out about six magnets at a time, spaced several inches apart. This allows you to move quickly when the cap is off the glue, and prevents the magnets from springing back together.

Using my fingernails to help separate a magnet from the stack.
If you are using our strong magnets, I have found it easiest to separate them by sliding a fingernail in between the magnets (I have short fingernails, so this should be do-able for most people).
4. Apply glue to pan in tiny bead
If you laid out six magnets, apply beads of glue to six pans, then re-cap the glue. If your glue is in a metal squeeze tube, this will prevent it from continuing to ooze out the tip and make a mess. Glue beads should be about the size of a coriander seed.
Large tubes of E6000 and other brands of glue will have a narrow applicator tip. If this is the case for you, you can easily apply glue directly from the tube onto your pan. Unfortunately, our mini tubes of E6000 have a wider opening instead of the narrow applicator tip. If you are using these, squeeze a small amount of glue into a large bead (on a scrap piece of paper), then using your magnetizing wand, pick up a magnet, dip it into the glue, then apply it to the pan, and twist off the magnetizing wand. Again, make sure to be in a well ventilated area and wear a mask if there is no wind - a little pool of glue will be more fume-y!
5. Use wand to pick up magnets and apply to pan

Magnetized end of the wand is very weak. The glue adhesion point will be stronger.
Of course, you can use your finger tips or finger nails to pick up the magnets and set them on the glue bead. However, this usually results in getting glue on your fingers. It helps tremendously to use what we call a 'magnetizing wand'. It is simply a narrow stick with a scrap of weak magnetic sheet on the end. We have some availlable here, but you can easily make your own using a pencil or dowel and magnetic tape or a magnetic business card from your fridge.
Use your wand to pick up a magnet, press it to a glue bead, then twist gently as you pull the wand away. This can take a couple practice tries to get the hang of.
Then adjust positioning of magnet, if needed, using eraser end of wand or a covered finger, and set pan aside to dry.
6. Lay out next round of magnets and repeat
Leave all freshly magnetized pans in a place where they can dry completely and off-gas (if you are using a stinky glue).
Using Sticky Tack Instead

A ball of sticky tack about this size should do the trick!
If you would like to side-step the mess and fuss of glue all-together, there is a non-toxic alternative in sticky tack. This is available at any office supply store from a variety of brands - just read labels to ensure you have found a non-toxic variety. We also offer a mini pack if you don't want to buy a whole package for just a handful of pans.
While, sticky tack will not allow you to slide your pans around in your palette the same way magnets will, you can still easily rearrange you pans, and you aren't limited to using palettes that are magnetic.
To sticky tack your pans in place, simply pull off a small bead of putty, roll it into a ball, place it on the back of your pan, and place your pan where you like.

Our mini-packs of sticky tack should allow you to attach about 100 half-Pans.
Are Your Individual Pans Magnetized?
Our individual pans for sale in our shop are not magnetized. We used to sell magnetized individual pans, but stopped when when we decided to offer enamel bijoux boxes as part of our regular lineup. Bijoux box palettes have inserts with brackets that hold pans in place. These brackets negate the need for magnets and aren't compatible with them (the magnets make the pans too tall for the brackets). We did not want you to be stuck in the position of removing magnets from individual pans purchased to replace colors in your bijoux boxes.
We have explored offering both magnetized and unmagnetized individual pans, but that is a logistical nightmare and creates chaos in our inventory and inbox.
 We enjoy offering bijoux box travel palettes without the bracket inserts. This allows you to carry more colors, rearrange them more easily, and saves the weight of the insert. We magnetize the colors in these sets. If custom assembling one of these palettes from scratch, you could choose to either magnetize or use sticky tack.
By knowing your options for attaching pans to different surfaces and understanding how to do it, you open up many more options for customizing your watercolor palettes. Please drop any questions in the comments!
As always, thank you for being here and wishing you happy painting,


